The project started with a Power Point presentation and showing the children various examples of textile printing as well as actual African clothes which I had borrowed from a friend. The children then used their sketch books to produce their own geometrical African designs to make block and string prints. I then did a demonstration showing them various geometrical designs and how to paint their background material (with masking tape to have a variety of light colours and white to pint onto later on). I also showed them how to make a block print, a string print and stencil as well as showing them how cold wax batik works on white cotton. The children then proceeded to paint their masking taped background cotton including any cold wax batik (sticking it to the back part of their desks so that it could dry whilst they made their string and block prints on the portion of desk right in front of them, all before lunch so that they could dry over lunch.

After printing the background the pupils made block prints to use on their panels.

Different block prints ready to print.
I emphasised the idea of using multiple printing on the cotton rather than just using one print and leaving it at that. The children then made their stencils (this was the last thing to do before printing since the stencils didn’t need time for glue to dry). I then did a demonstration showing the children how to use their block prints, string prints and stencils.
The children then cleared their desks and moved their background cotton to the front of their desks right in front of them and were then given palettes of fabric paint to use on their block prints.
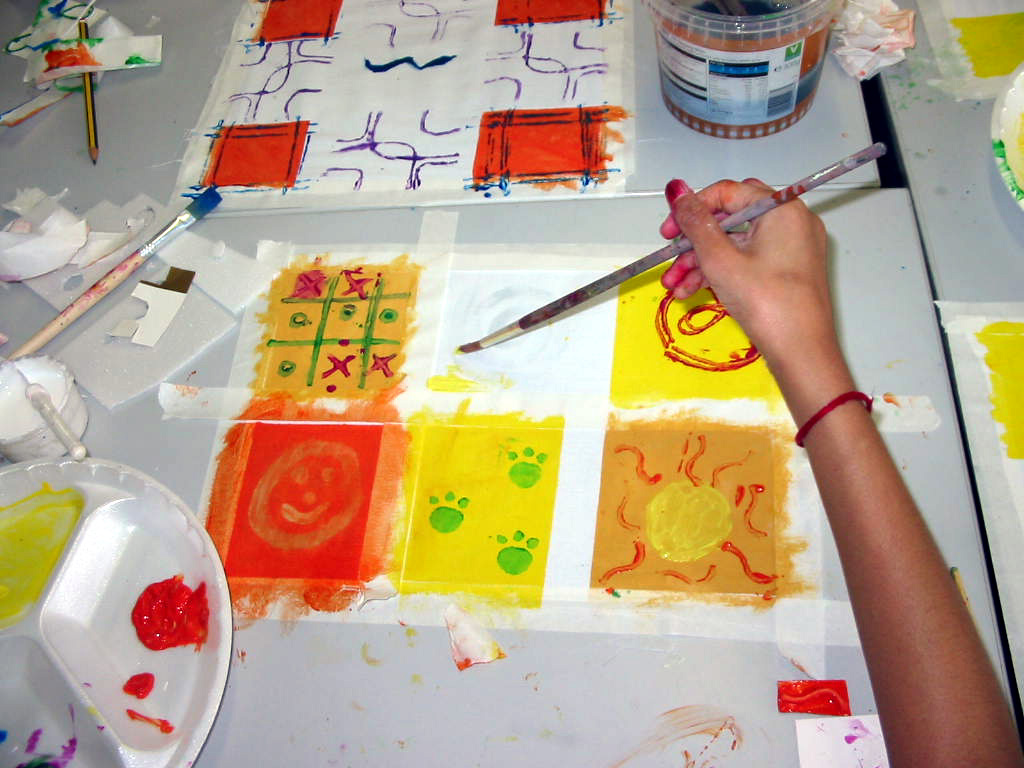
The pupils explored the techniques by making different patterns on the squares.

One of the finished pieces.
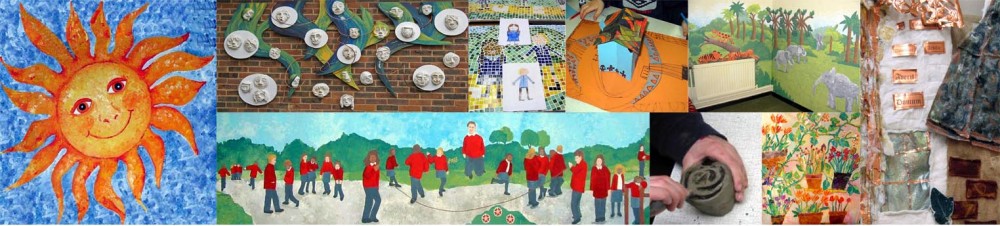
A fun project to introduce fabric printing.
