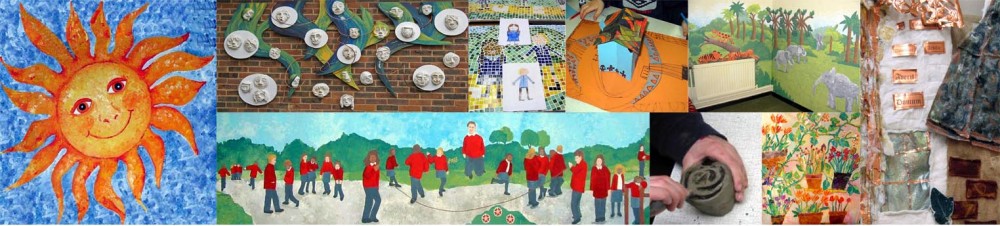
Here are some of the outdoor mosaics I have made with children.
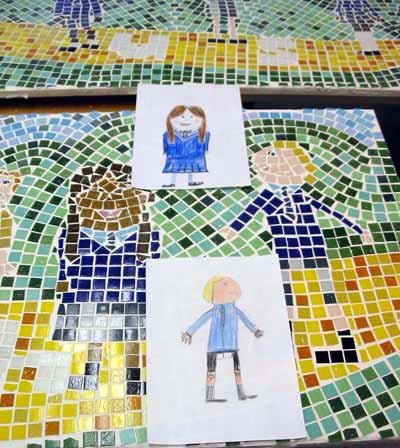
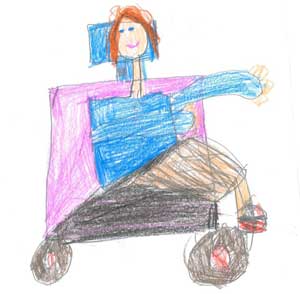
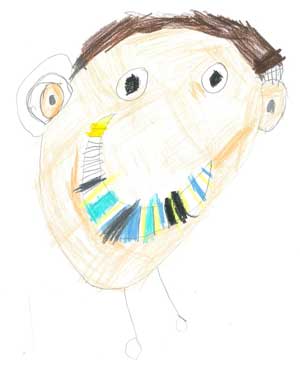
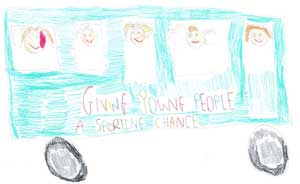
As with all my projects, the children’s drawings come first. A recent mosaic was based on the Queen’s Diamond Jubilee and is a good example of how they are made. This was a project for a Special Needs school and all the children were involved. I made a design based on the children’s drawings and sent it to the school for approval.


After consultation with the school we decided on four boards that were cut to a crown shape. This we felt would reflect the idea of the Queen’s Jubilee and would allow those children who were in wheelchairs to participate since the boards would be portable and small enough to fit on a table top.
This is the final design:

As with all my projects, it is very important to copy the children’s drawings exactly onto the final piece. Since the children would be handling small glass tiles it was also very important to make sure that everyone worked safely. To this end, I use the ‘indirect’ method of mosaic making which means that the design is drawn back to front onto paper and the tiles stuck down with ordinary glue face down. You can see this in the following photos of the mosaic as it was being made.
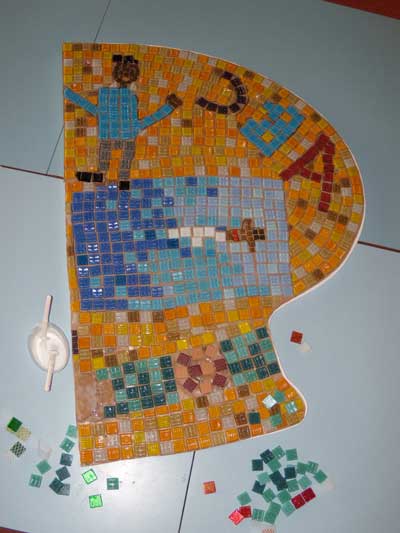

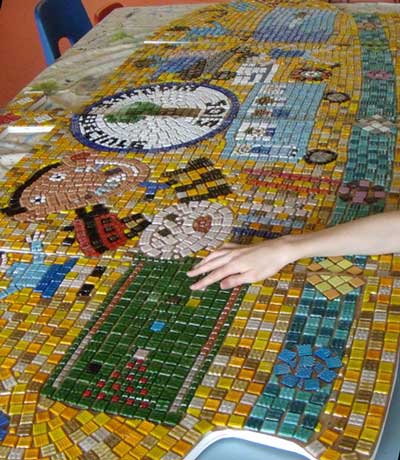
As you can see from the last picture, the mosaic is very tactile which was a key reason why the school wanted to make this project.
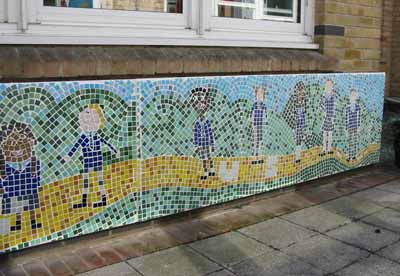
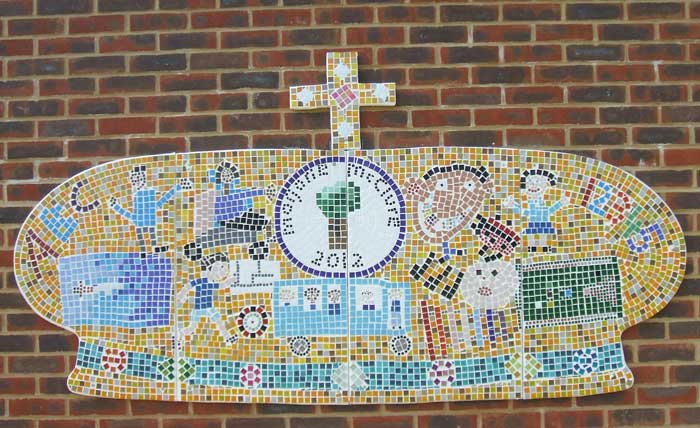
Finally, this is the finished mosaic in situ. It is approximately 1.8m x 1.5m overall and took five days for the children to make.
Memorial Garden Mosaic
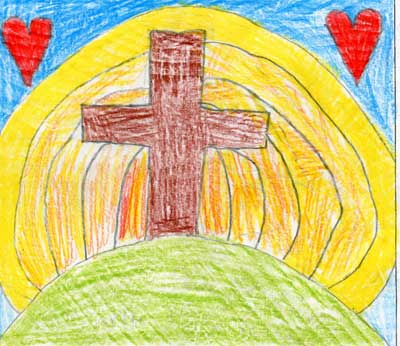
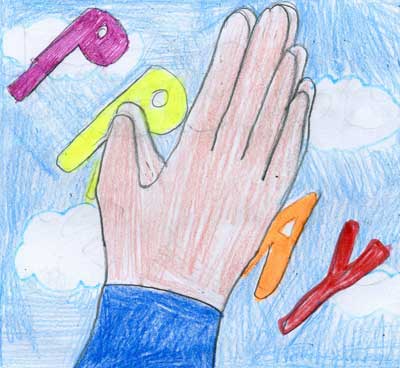

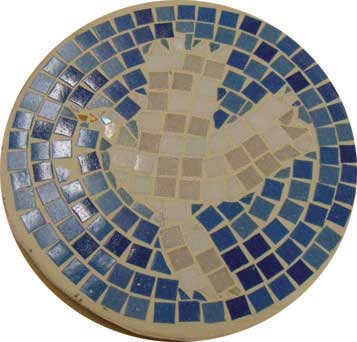
These are children’s drawings for small roundels which are displayed opposite a larger outdoor mosaic. You can see with the work in progress photographs of the ‘dove’ roundel particularly how the process works
.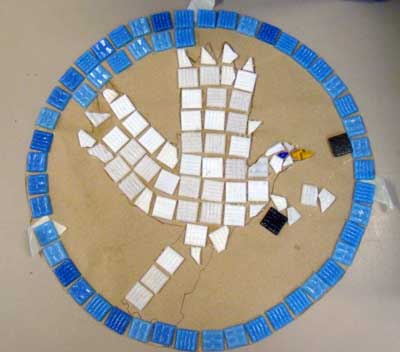
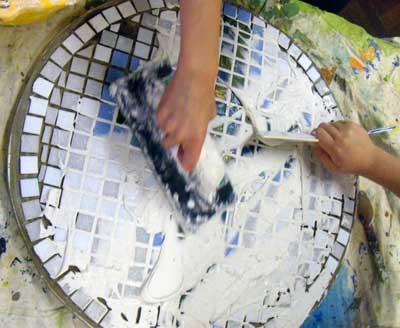
This is the beginning of the roundel, sticking the tiles face down on paper.
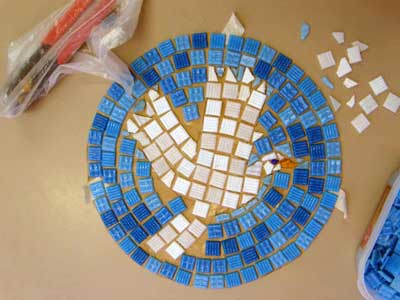
This is the roundel finished apart from inserting small cut tiles into the gaps – I cut the tiles and only older children would stick cut tiles down. Once this has been done the board is covered with tile adhesive and the tiles turned over onto it with the paper on top. It is left to dry and then the paper is removed.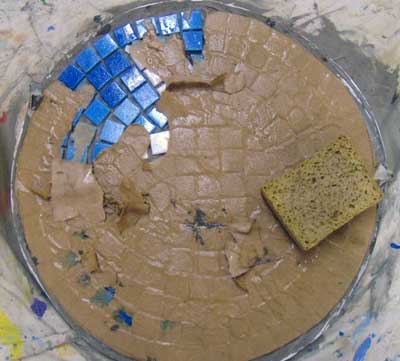
Once the paper has been removed the roundel is grouted.
This is the roundel finished.
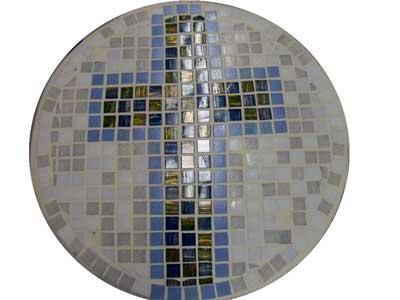
These are the other two roundels .

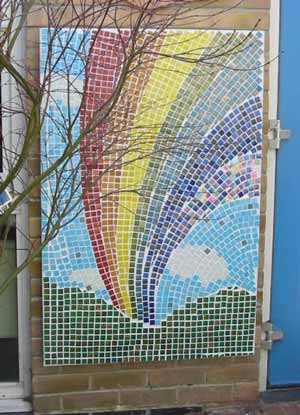
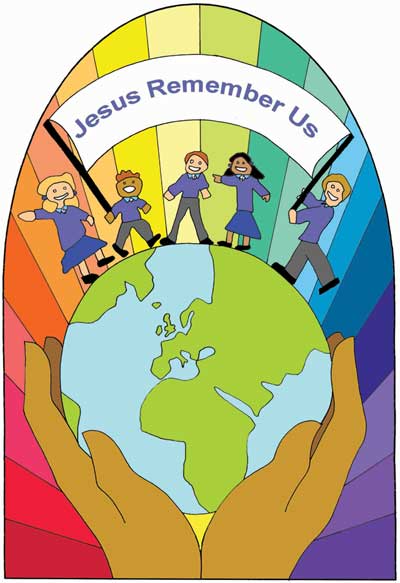
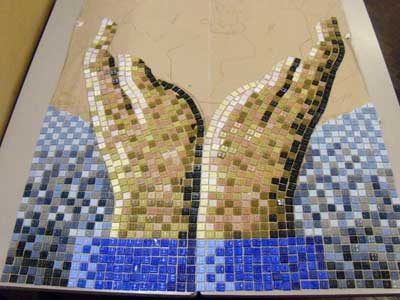
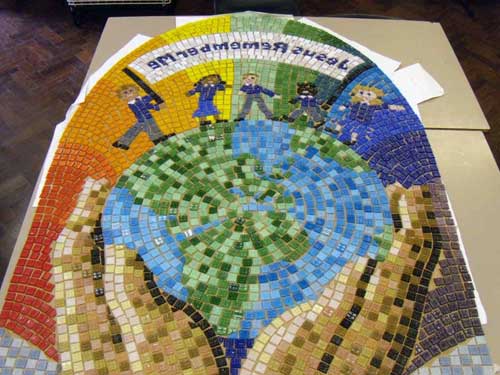
This is the design for the main mosaic.
This is the mosaic being made.
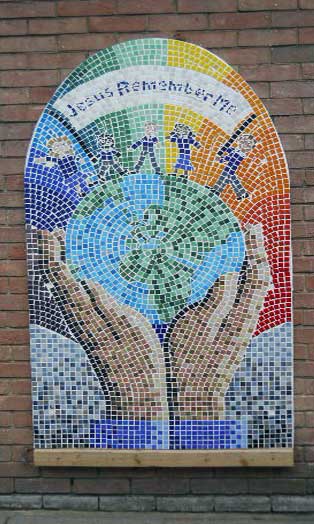
This is the mosaic finished.
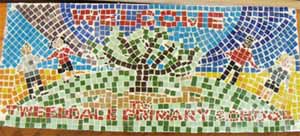
Here are some more mosaics: